How to Cook Up a Graduation Doughnut Party with PipnBits

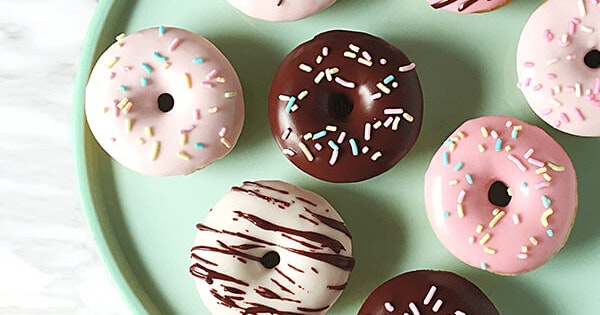
Self-proclaimed sweets-lover Laura D’Abate started her baking business Pip n Bits following a career in magazine publishing, where she became inspired by some of the most talented food stylists. Now she’s revealing her tested tricks for baking treats that look as sweet as they taste. And just in time for cap-and-gown season, she’s sharing her signature glazed doughnuts to serve at any graduation party. You can even personalize the doughnuts to your graduate’s school colors! Follow this no-fail doughnut recipe and baking tips from Laura for whipping up sweet treats. You’ll score top marks at the party!
Here are 5 simple baking tips from Laura to inspire your inner baker:
Q: Any tips for newbie bakers?
Laura: Go for it! Almost everything is available online now, and edible sprinkles and glitters can really elevate the look of your baked goods. Sugar cookies call for basic ingredients that are very accessible. My favorite pro baking secret for these cookies is not to add baking powder or baking soda — I don’t care what the recipe calls for (leave it out!). This is one surefire way to guarantee your perfectly-cut cookies keep their shape and don’t turn into shapeless blobs (we’ve all been there!).
Q: Do you bake-ahead and freeze?
Laura: I think the freezer actually makes baked goods even better! I always bake my cake layers ahead of time and freeze. Once they cool completely, wrap in plastic wrap and then in a layer of foil. I like to make mine a week or a few days ahead of time. Take them out and let them slightly defrost while you make the frosting. When the cake is frosted and stacked, you can box it up and keep it in the fridge for a day or two. I’ve stored baked chocolate chip cookies, sugar cookies, and whoopie pies in airtight containers in the freezer, too. (Note: Laura doesn’t recommend freezing doughnuts.) To dethaw, take out several hours before you want to serve, and leave at room temp. Or you can move them to the fridge the day before the party.
Q: Any tips for anyone who wants to up their baking game?
Laura: Make a cake! Cakes look so impressive. The best part is they do not need to look perfect! A beautiful, rustic cake looks just as tasty as a perfectly smooth one. Two tips to bring your cake to the next level: When your cakes have cooled, cut the domes off the top so they are even, flat layers. This helps your cake look even and polished once it’s stacked. And frosting cold (frozen) cake layers is much easier than one just cooled out of the oven.
Q: How do you transport your treats for a party?
Laura: If you made a cake, make sure you have a box the same size of the cake plate it is on (i.e. 8-inch cake plate with 8”x8” box), so the cake won’t slide around in the box . Place parchment or wax paper between layers of cookies. My favorite thing is a plain white glossy box, and then you can customize with colorful ribbon.
Q: Any baking mistake that you’ve learned from?
Laura: If you think the order of adding ingredients to the mixer doesn’t matter, think again. Baking is a science. When developing my Strawberry Milk Whoopie Pies, I learned this lesson. My first batch turned out flat as a sheet of paper!
Q: What’s one ingredient you could never live without?
Laura: Unsalted butter! For baking, it is number one. I’d rather add salt to taste, than use salted butter. Save the salted butter for spreading on that warm French baguette!
And here’s how to make yummy doughnuts topped with school spirit for any graduation party!

Vanilla-Glazed Doughnuts Recipe by Pip n Bits
1/4 cup (4 tablespoons) butter
1/4 cup vegetable oil
1/2 cup granulated sugar
1/3 cup brown sugar
2 large eggs
1 1/2 teaspoons baking powder
1/4 teaspoon baking soda 1 teaspoon ground nutmeg, to taste
3/4 teaspoon salt
1 teaspoon vanilla extract
2 2/3 cups all purpose flour
1 cup milk
Vanilla Glaze:
2 cups confectioners' sugar
3 Tablespoons unsalted butter, melted and slightly cooled
3-4 Tablespoons heavy cream (if it is too thick add another tablespoon)
1 teaspoon pure vanilla extract
1-2 Tablespoons corn syrup (this makes the glaze really shiny)
Instructions:
Preheat the oven to 425°F. Lightly grease two standard doughnut pans (or one if that is what you have). In a medium-sized mixing bowl, beat together the butter, vegetable oil, and sugars until smooth.
Add the eggs, beating to combine.
Stir in the baking powder, baking soda, nutmeg, salt, and vanilla.
Stir the flour into the butter mixture alternately with the milk, beginning and ending with the flour and making sure everything is thoroughly combined.
Spoon the batter into the lightly greased doughnut pans, filling the wells to about 1/4" shy of the rim. (I like to put batter in a piping bag or Ziploc bag with the corner cut off).
Bake the doughnuts for 10 minutes. Remove them from the oven, and wait 5 to 7 minutes before turning them out of the pans onto a rack. Let doughnuts cool before glazing.
Make the glaze:
In a medium bowl, whisk the glaze ingredients together until completely smooth. Add more cream to thin or more confectioners' sugar to thicken, if desired.
Divide glaze into bowls to make different colors. Add your choice of food coloring to the glaze. I recommend using gel colors, as they are very concentrated and yield the brightest results. (I am a big fan of Americolor or Wilton.) Remember a little goes a long way with these gel colors, so start with a drop and add till you have the desired color. Food coloring tends to darken after a little while so I like to add my color and wait a few minutes before adding more.
Dip the top of each doughnut into the glaze, then place back on the rack.
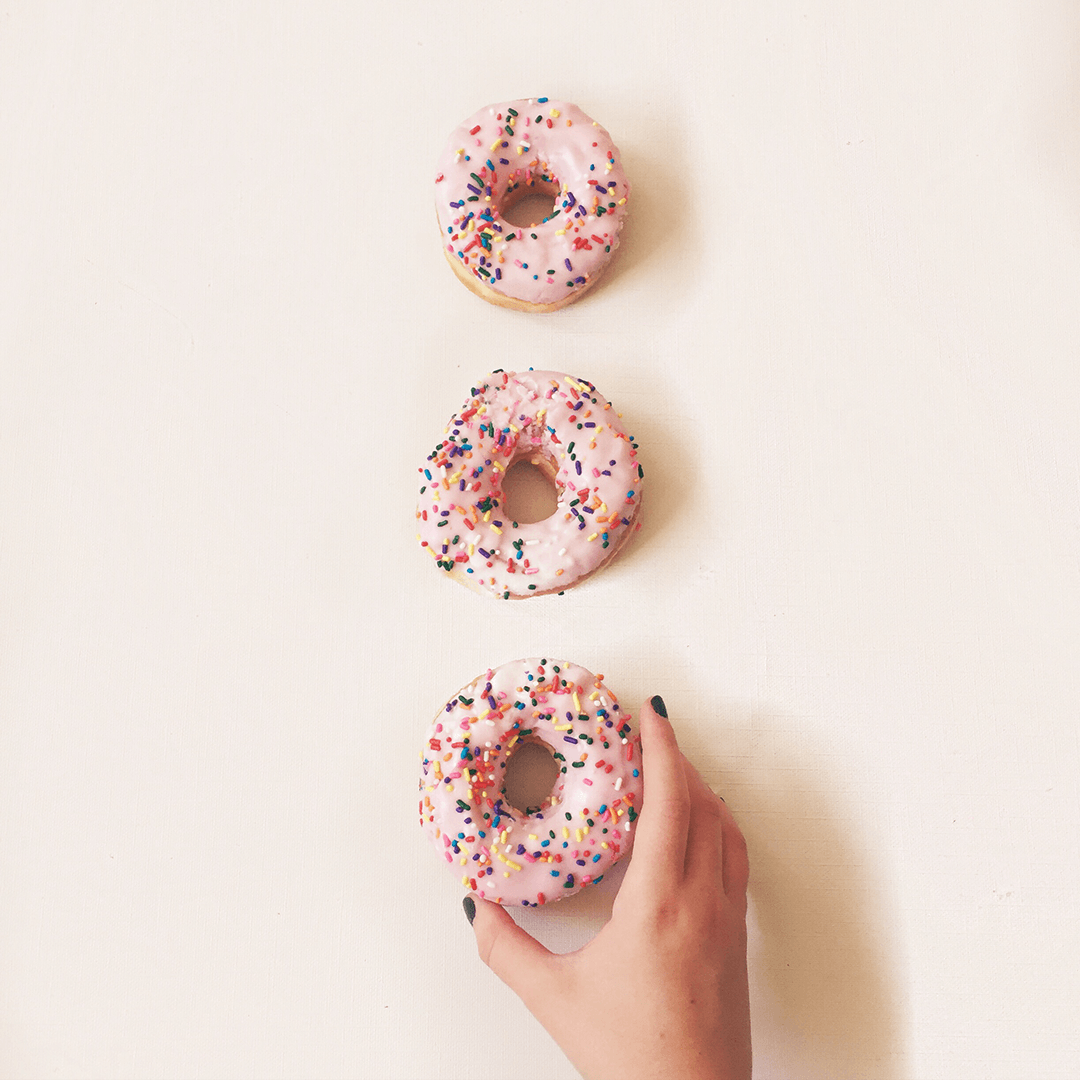
Top doughnuts with decorations of your choice. I love sprinkles, and they come in just about every color!
Doughnuts are best served immediately. But will keep in an airtight container at room temp for a couple of days.
And if you’re feeling lost on what to give your grad, here are high school graduation gifts, college graduation gift ideas, and graduation gifts that make the grade.


